Whether you’re just starting out or ready for a new challenge, our patterns are organized by skill level to help you find the perfect project for your journey.
Begin with a magic ring.
Work increase rounds evenly until the crown reaches the desired diameter.
Continue crocheting without increases to build the height of the hat.
Shape the Earflaps
Determine the placement of each earflap.
Work back-and-forth rows while decreasing gradually to create pointed ends.
Repeat for the second side.
Create the Owl Eyes
Crochet several circles using:
Black center
Beige ring
White outer eye
Gray border
Make two matching eyes.
Crochet the Beak
Create a small triangular beak using black yarn.
Fasten off, leaving a long tail for sewing.
Add Ear Tufts
Cut several strands of gray yarn.
Fold and secure them near the top corners of the hat.
Trim evenly for a fluffy appearance.
Attach the Facial Features
Position the eyes evenly across the front.
Sew the beak between them.
Check alignment before securing permanently.
Make Braided Ties
Attach several strands of yarn to each earflap.
Braid tightly.
Tie knots at the ends and trim evenly.
Finish the Hat
Weave in all yarn ends.
Lightly block if necessary.
Your adorable owl hat is ready to wear.
Count stitches after every increase round.
Keep both earflaps symmetrical.
Position the eyes before sewing permanently.
Avoid stuffing the eyes too firmly if using fiberfill.
Use secure stitching when attaching appliqués for children's safety.
Trim tassels evenly after braiding.
Use safety eyes only for decorative items, not hats intended for babies.
Pin the facial pieces before sewing.
Choose high-contrast colors for expressive owl eyes.
Steam lightly to smooth the finished hat.
Use soft, washable yarn for maximum comfort.
Match braid length on both sides for a balanced look.
Animal-themed accessories never go out of style, and an owl-inspired crochet hat is one of the cutest projects you can make. Combining warmth, comfort, and playful personality, this charming hat features oversized owl eyes, a tiny beak, fluffy ear tufts, and braided earflaps that make it both functional and fun.
Whether you're crocheting a thoughtful baby shower gift, preparing for winter, or creating adorable photo props, this owl hat is sure to become a favorite. It works up quickly, uses simple stitches, and offers plenty of opportunities to personalize colors and embellishments.
If you're looking for a crochet pattern, free crochet pattern, easy crochet pattern, crochet tutorial, DIY crochet, or crochet for beginners, this delightful owl hat is a rewarding project that combines practical warmth with whimsical style.
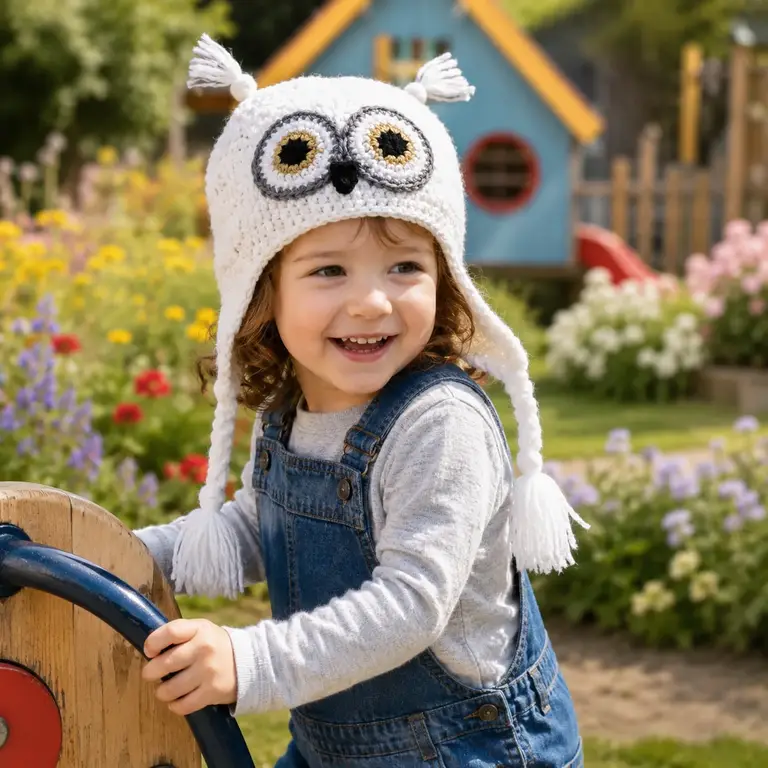
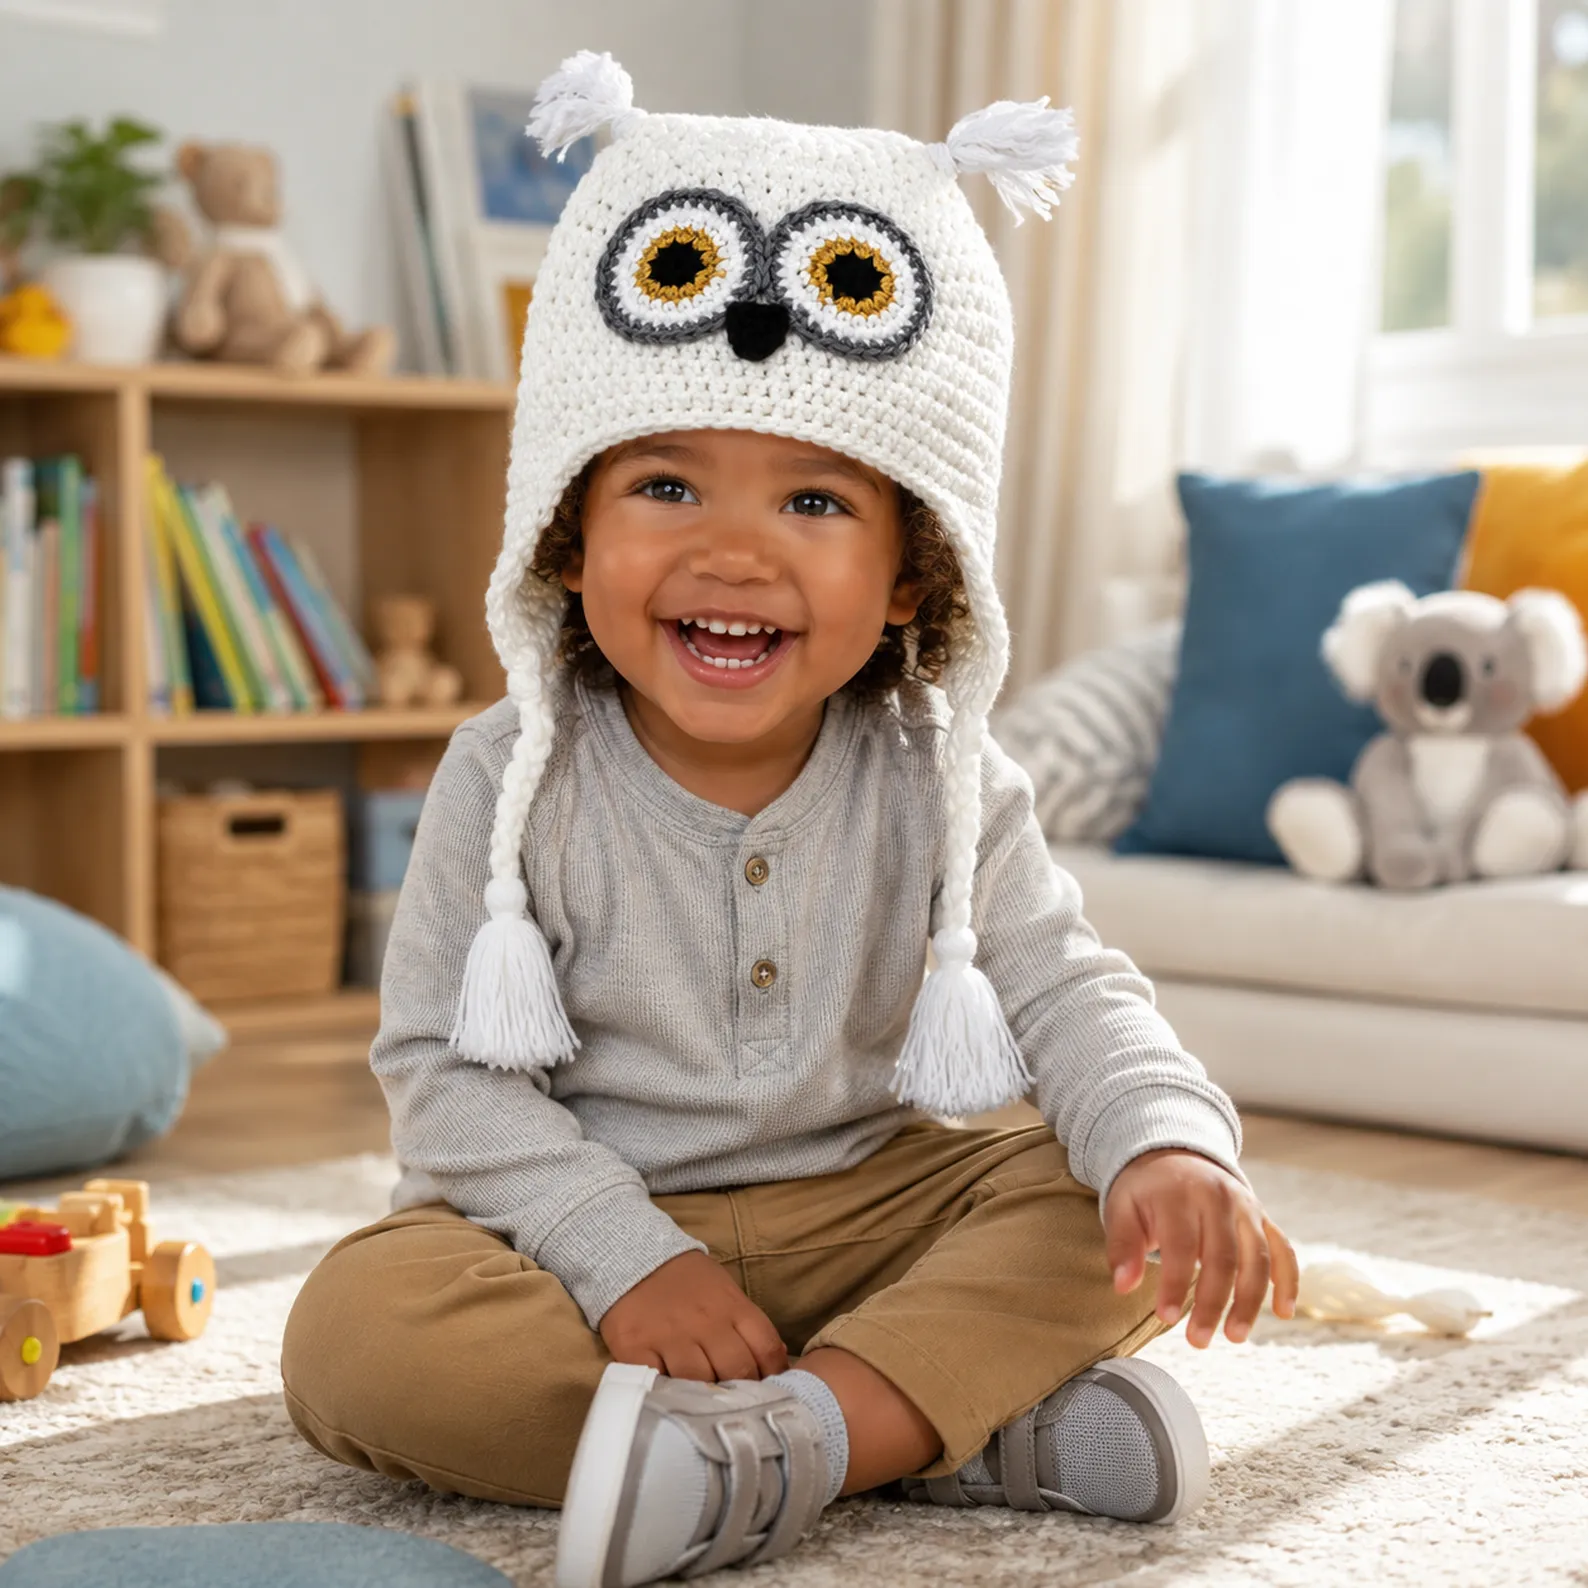
This crochet owl hat features a classic beanie shape with extended earflaps for extra warmth and comfort. The body of the hat is worked in smooth, even stitches that create a soft and durable fabric suitable for everyday wear.
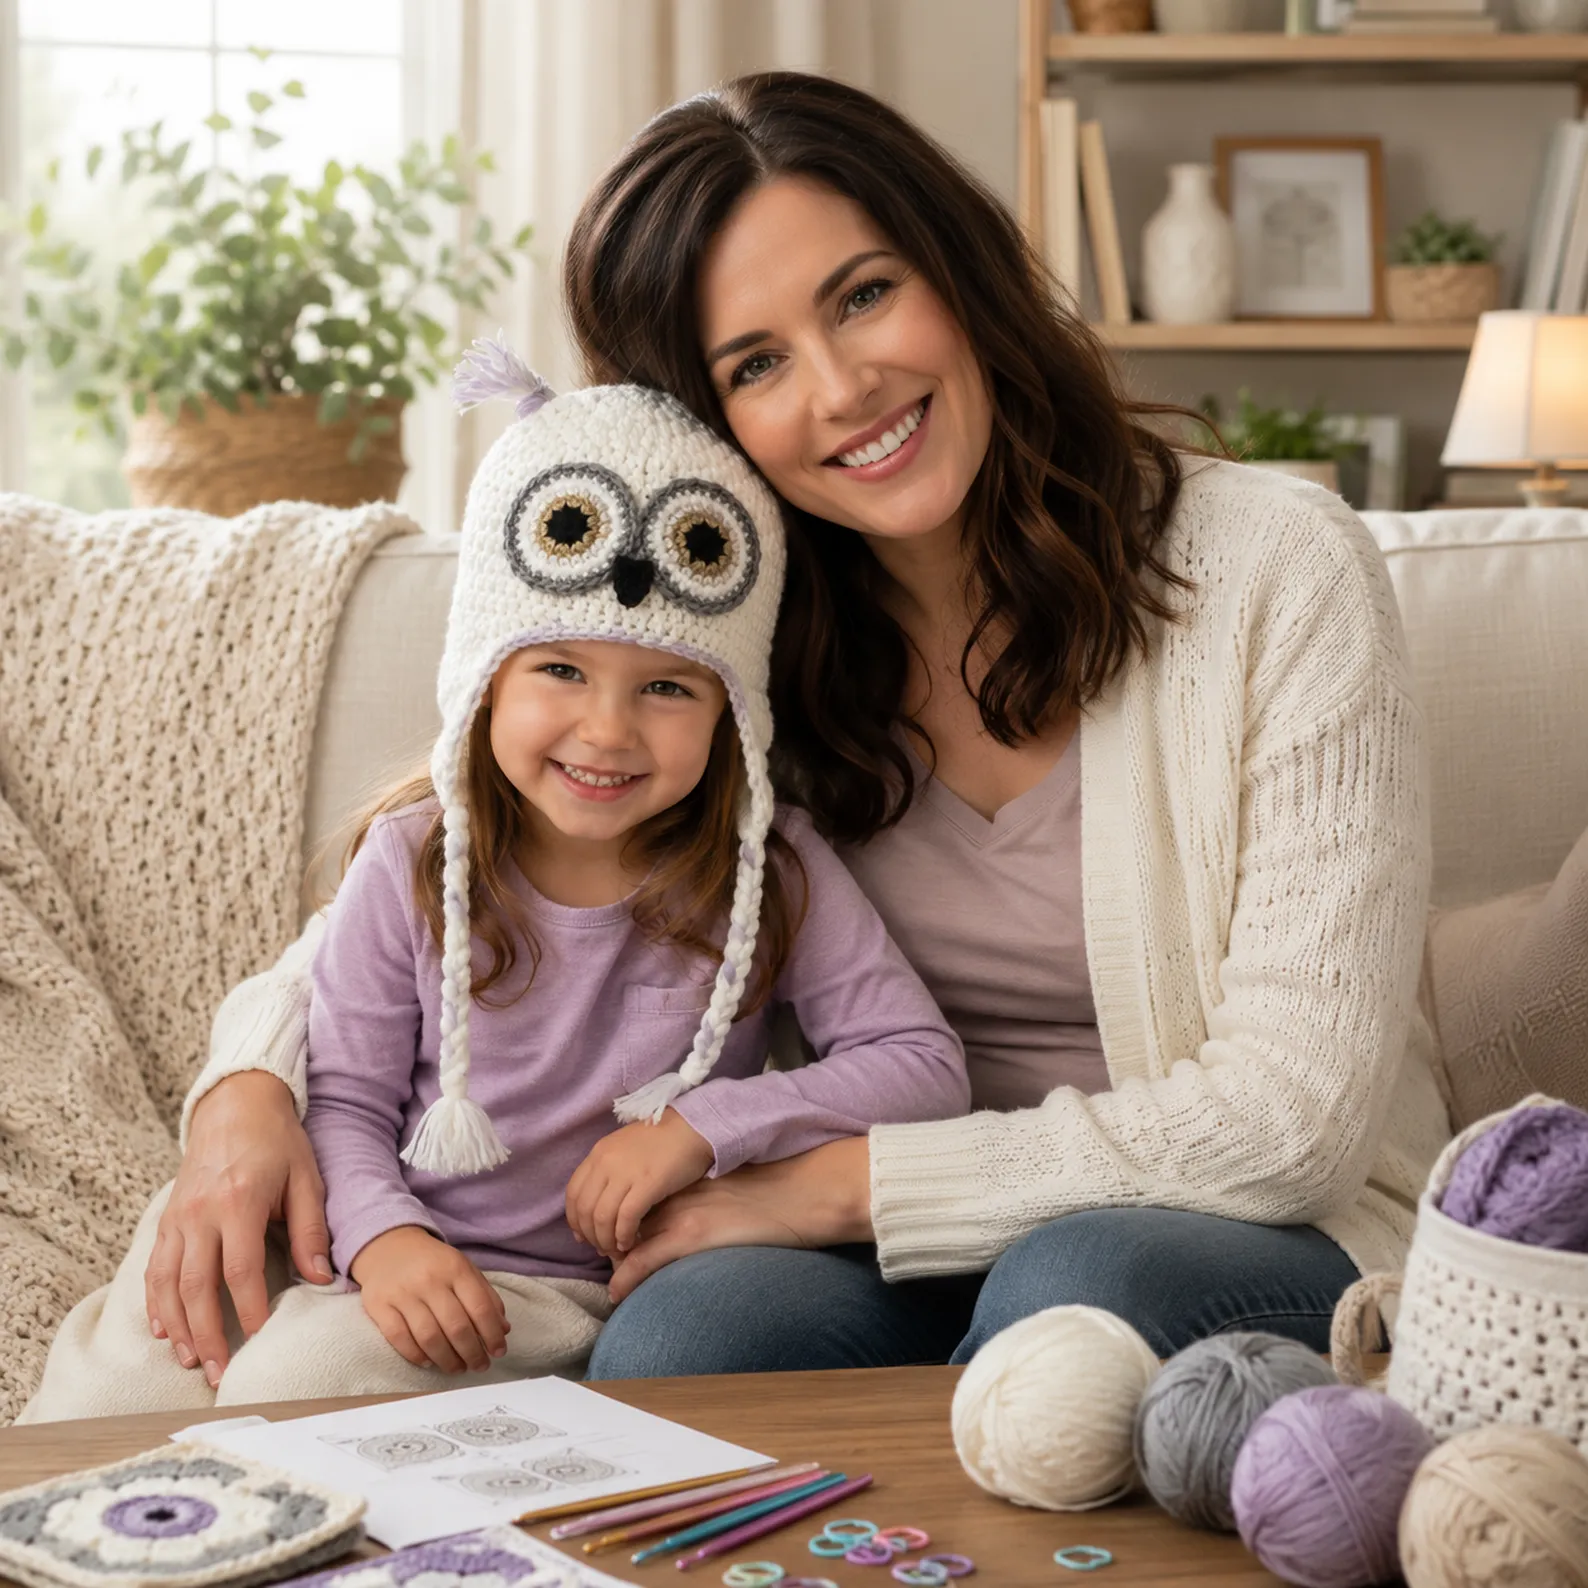
The standout feature is the owl face. Two oversized circular eyes are layered with contrasting colors to create expressive, lifelike details, while a small triangular beak sits neatly between them. Soft yarn tufts placed near the top imitate owl ears, adding texture and personality.
Long braided ties extend from the earflaps, making the hat easy to secure while adding a traditional winter accessory look. The overall design balances playful charm with practical warmth, making it ideal for babies, toddlers, and young children.
Although the decorative elements look detailed, they are created using basic crochet techniques and simple assembly, making the project approachable even for newer crocheters.
Begin with a magic ring.
Work increase rounds evenly until the crown reaches the desired diameter.
Continue crocheting without increases to build the height of the hat.
Shape the Earflaps
Determine the placement of each earflap.
Work back-and-forth rows while decreasing gradually to create pointed ends.
Repeat for the second side.
Create the Owl Eyes
Crochet several circles using:
Black center
Beige ring
White outer eye
Gray border
Make two matching eyes.
Crochet the Beak
Create a small triangular beak using black yarn.
Fasten off, leaving a long tail for sewing.
Add Ear Tufts
Cut several strands of gray yarn.
Fold and secure them near the top corners of the hat.
Trim evenly for a fluffy appearance.
Attach the Facial Features
Position the eyes evenly across the front.
Sew the beak between them.
Check alignment before securing permanently.
Make Braided Ties
Attach several strands of yarn to each earflap.
Braid tightly.
Tie knots at the ends and trim evenly.
Finish the Hat
Weave in all yarn ends.
Lightly block if necessary.
Your adorable owl hat is ready to wear.
Count stitches after every increase round.
Keep both earflaps symmetrical.
Position the eyes before sewing permanently.
Avoid stuffing the eyes too firmly if using fiberfill.
Use secure stitching when attaching appliqués for children's safety.
Trim tassels evenly after braiding.
Use safety eyes only for decorative items, not hats intended for babies.
Pin the facial pieces before sewing.
Choose high-contrast colors for expressive owl eyes.
Steam lightly to smooth the finished hat.
Use soft, washable yarn for maximum comfort.
Match braid length on both sides for a balanced look.
This adorable owl crochet hat combines warmth, personality, and beginner-friendly construction into a project that is as enjoyable to make as it is to wear. With its oversized expressive eyes, fluffy ear tufts, braided ties, and cozy fit, it captures the charm of woodland animals while providing practical protection from chilly weather.
Whether you're making it for your own child, creating a memorable baby shower gift, or adding a playful accessory to your handmade collection, this crochet pattern project is sure to bring smiles. Once you've finished your first owl hat, you'll likely find yourself experimenting with new colors, sizes, and whimsical details to create an entire family of charming crochet owls.
 Small stitches. Brighter days.