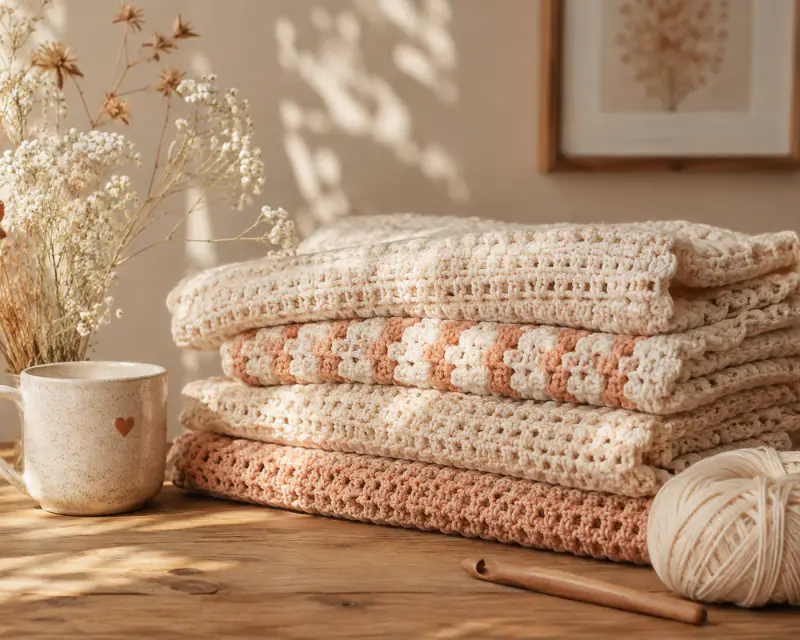
Whether you’re just starting out or ready for a new challenge, our patterns are organized by skill level to help you find the perfect project for your journey.
This project is best suited to advanced beginners and intermediate crocheters, although confident beginners can make it by working slowly through each section. You should be familiar with making a magic ring, single crochet, continuous rounds, increases, decreases, stuffing, and basic sewing. If you have never made amigurumi before, this is still a useful project because the individual pieces are relatively straightforward. The most important skill is maintaining consistent tension. Loose stitches can create visible gaps, while inconsistent increases can cause the head or body to become uneven. If you are completely new to crochet, consider practicing a small sphere before starting the main character. This will help you become comfortable with increasing, decreasing, counting stitches, and stuffing a three-dimensional shape.
A chain stitch is created by making a loop and pulling yarn through it. Chains are commonly used to begin rows, create spaces, or form foundation structures.
Single Crochet — sc
Single crochet is the primary stitch used throughout this amigurumi-style project. Insert your hook into the indicated stitch, yarn over, pull up a loop, yarn over again, and pull through both loops on the hook.
Increase — inc
An increase means working two single crochet stitches into the same stitch. In amigurumi, increases gradually expand a circular piece and are essential for creating rounded heads, bodies, feet, and other components.
Invisible Decrease — dec
An invisible decrease combines two stitches into one while keeping the outside of the amigurumi neat. Insert the hook through the front loops of the next two stitches, yarn over, pull through, yarn over again, and pull through the remaining loops.
Magic Ring
A magic ring allows you to begin crocheting in the round without leaving a large hole in the center. Pull the starting tail firmly once the first round has been completed to close the center.
Continuous Rounds
Most amigurumi pieces are crocheted continuously rather than joined at the end of every round. Place a stitch marker into the first stitch of each round and move it upward as you work.
The head is the most important part because it establishes the recognizable rounded shape. Using white yarn, begin with a magic ring and crochet 6 single crochet stitches into the ring. Round 1: 6 sc into a magic ring. Round 2: Increase in every stitch around for 12 stitches. Round 3: Repeat 1 sc, inc around for 18 stitches. Round 4: Repeat 2 sc, inc around for 24 stitches. Round 5: Repeat 3 sc, inc around for 30 stitches. Continue increasing evenly until the head reaches the desired width. Once the widest point has been reached, work several rounds of single crochet without increasing. The piece should begin to resemble a rounded ball. Begin decreasing gradually using evenly spaced decreases. As the opening becomes smaller, start adding polyester fiberfill. Add stuffing gradually and distribute it evenly rather than placing a large amount in one area. Do not overstuff the head. It should be firm enough to maintain its shape while remaining soft and slightly squeezable. Finish the final decreases and weave the yarn through the remaining stitches to close the opening.
Part 2: Make the Ears
The ears can be made as small triangular crochet pieces. Begin with a small number of stitches and increase toward the center of the ear before decreasing gradually to form the pointed top. Make two matching ears and leave a long yarn tail on each piece for sewing. Position the ears near the upper corners of the head. Before sewing them permanently, use pins to test the placement. Keeping both ears at a similar height will help the finished character look balanced. Once you are satisfied with the position, sew them securely to the head using a tapestry needle.
Part 3: Crochet the Body and Dress
The body is smaller than the head and can be worked from the bottom upward. Begin with a small circular base using white yarn and increase evenly until the base reaches the desired width. Continue working single crochet rounds without increases to create the main body. Change to pink yarn when you reach the section that will become the dress. Work several rounds of single crochet in pink. If you want a slightly flared dress, add occasional increases around the lower section. This creates a simple skirt-like silhouette without requiring complicated stitches. You can add two small white crocheted circles to the front of the dress to imitate buttons. Crochet the circles separately and sew them securely into position.
Part 4: Crochet the Arms
Make two small white arms. Start with a small magic ring and work several rounds of single crochet. Use increases sparingly so the arms remain narrow and rounded. Add a small amount of stuffing before closing each arm. Avoid overstuffing because small arms can become stiff and difficult to sew onto the body. Sew one arm onto each side of the body. For a cute standing pose, angle the arms slightly downward. Check the position of both arms before securing them permanently.
Part 5: Crochet the Feet
The feet are small oval-shaped pieces. Start with a magic ring and work increases around the first few rounds. Continue crocheting until each foot reaches the desired length. Work a few rounds without increases and then begin decreasing toward the back of the foot. Add a small amount of stuffing before closing the opening. Make two matching feet and sew them to the lower part of the body. Leave enough space between them so the character can stand upright. Before sewing the feet permanently, place them against the body and check the balance. If the character tips forward or backward, adjust the placement slightly.
Part 6: Make the Pink Bow
The bow is one of the most recognizable decorative elements of the design. Using pink yarn, crochet a small rectangle with single crochet. Continue working rows until the rectangle is approximately twice as wide as you want the finished bow to be. Fasten off and weave in the yarn end. Pinch the center of the rectangle and wrap pink yarn around the middle several times. This creates two rounded loops and gives the piece its bow shape. Sew the finished bow securely near one ear. For a larger bow, add additional rows or use a thicker yarn. You can also use two shades of pink to create a layered effect.
Part 7: Add the Face
Facial placement can dramatically change the personality of an amigurumi, so take your time with this stage. The face should be added after the head has been completely stuffed and shaped. For the eyes, use black yarn to embroider two small oval-shaped shapes. Position them evenly on either side of the face. For the nose, use yellow yarn to create a small oval or rounded shape in the center of the face between the eyes. Add three short black whisker lines on each side of the face. Use straight embroidery stitches and keep the tension consistent so the yarn does not pull the face out of shape.
Part 8: Final Assembly
Once all the pieces are complete, arrange them before sewing. Check that both ears are positioned evenly, the eyes are level, the nose is centered, and the bow is secure. Also check that the arms are at the same height and that the feet are positioned so the character can stand properly. After everything looks balanced, sew each piece securely. Weave all yarn ends inside the project and trim the excess. Give the finished amigurumi a gentle shaping with your fingers. Avoid pulling aggressively on the embroidered facial details.
Loose stitches can leave gaps between stitches and allow stuffing to show. Solution: Try using a smaller hook or slightly tighten your tension.
Losing Track of Rounds
It is easy to lose your place when crocheting continuous rounds. Solution: Always use a stitch marker at the beginning of each round and count your stitches regularly.
Overstuffing
Too much stuffing can distort the shape and stretch the stitches. Solution: Add stuffing gradually and distribute it evenly throughout the piece.
Uneven Increases
Incorrectly placed increases can make the head or body lumpy. Solution: Count your stitches at the end of every round and make sure your increases are evenly distributed.
Crooked Facial Features
Even a beautifully crocheted head can look unusual when the facial features are not centered. Solution: Temporarily pin or mark the positions of the eyes and nose before embroidering them permanently.
Weak Attachments
Loose arms, feet, ears, or bows can detach after repeated handling. Solution: Sew each component through several strong stitches and securely weave in the yarn ends.
Amigurumi depends heavily on accurate stitch counts. A single missed increase can affect the shape of the entire piece. Keep a written record of your rounds so you can easily find your place if you need to stop.
Stuff as You Go
Do not wait until the final opening to add all the stuffing. Smaller amounts added gradually are easier to distribute evenly.
Use a Stitch Marker
A simple stitch marker can save considerable time and prevent confusion when working in continuous rounds.
Maintain Consistent Tension
Try to maintain similar tension throughout every section. Consistent tension creates smoother shapes and makes the individual pieces easier to assemble.
Embroider the Face Last
The face is much easier to position once the head has been fully stuffed and shaped. This also allows you to adjust the facial expression before making the final stitches.
Use Pins During Assembly
Before sewing pieces permanently, use pins to test their position. This is especially helpful for the ears, arms, feet, and bow.
One of the best things about a DIY crochet project is the freedom to make it your own.
Change the Dress Color
Pink is a classic choice, but you can experiment with lavender, mint green, baby blue, cream, red, yellow, or rainbow stripes.
Create Seasonal Outfits
Make several small dresses for different occasions. A red-and-green version can create a festive holiday look, while pastel shades work beautifully for spring.
Make a Larger Version
Use bulky yarn and a larger crochet hook to create an oversized plush character. Remember that thicker yarn will require more stuffing and may change the final proportions.
Make a Mini Version
For a tiny amigurumi, use lightweight yarn with a smaller hook. This can create a cute miniature decoration, although very small pieces require extra care when used around children.
Add a Flower
Replace the bow with a small crocheted flower for a different appearance. You can also place a tiny flower beside the ear or on the dress.
Make a Matching Collection
Once you understand the basic construction, create several versions with different colors and outfits. This is an excellent way to practice repeating the same crochet pattern while experimenting with your own designs.
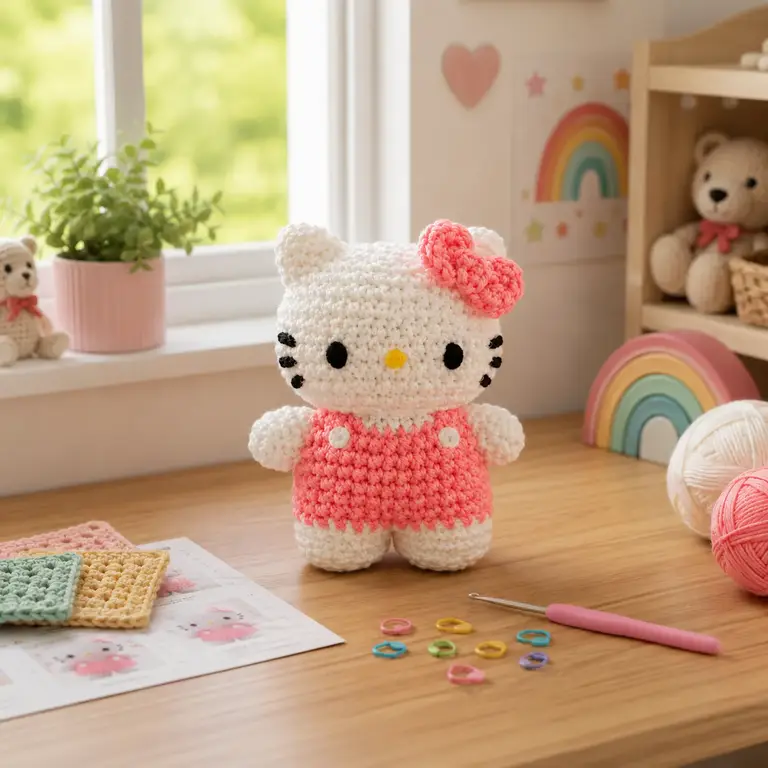
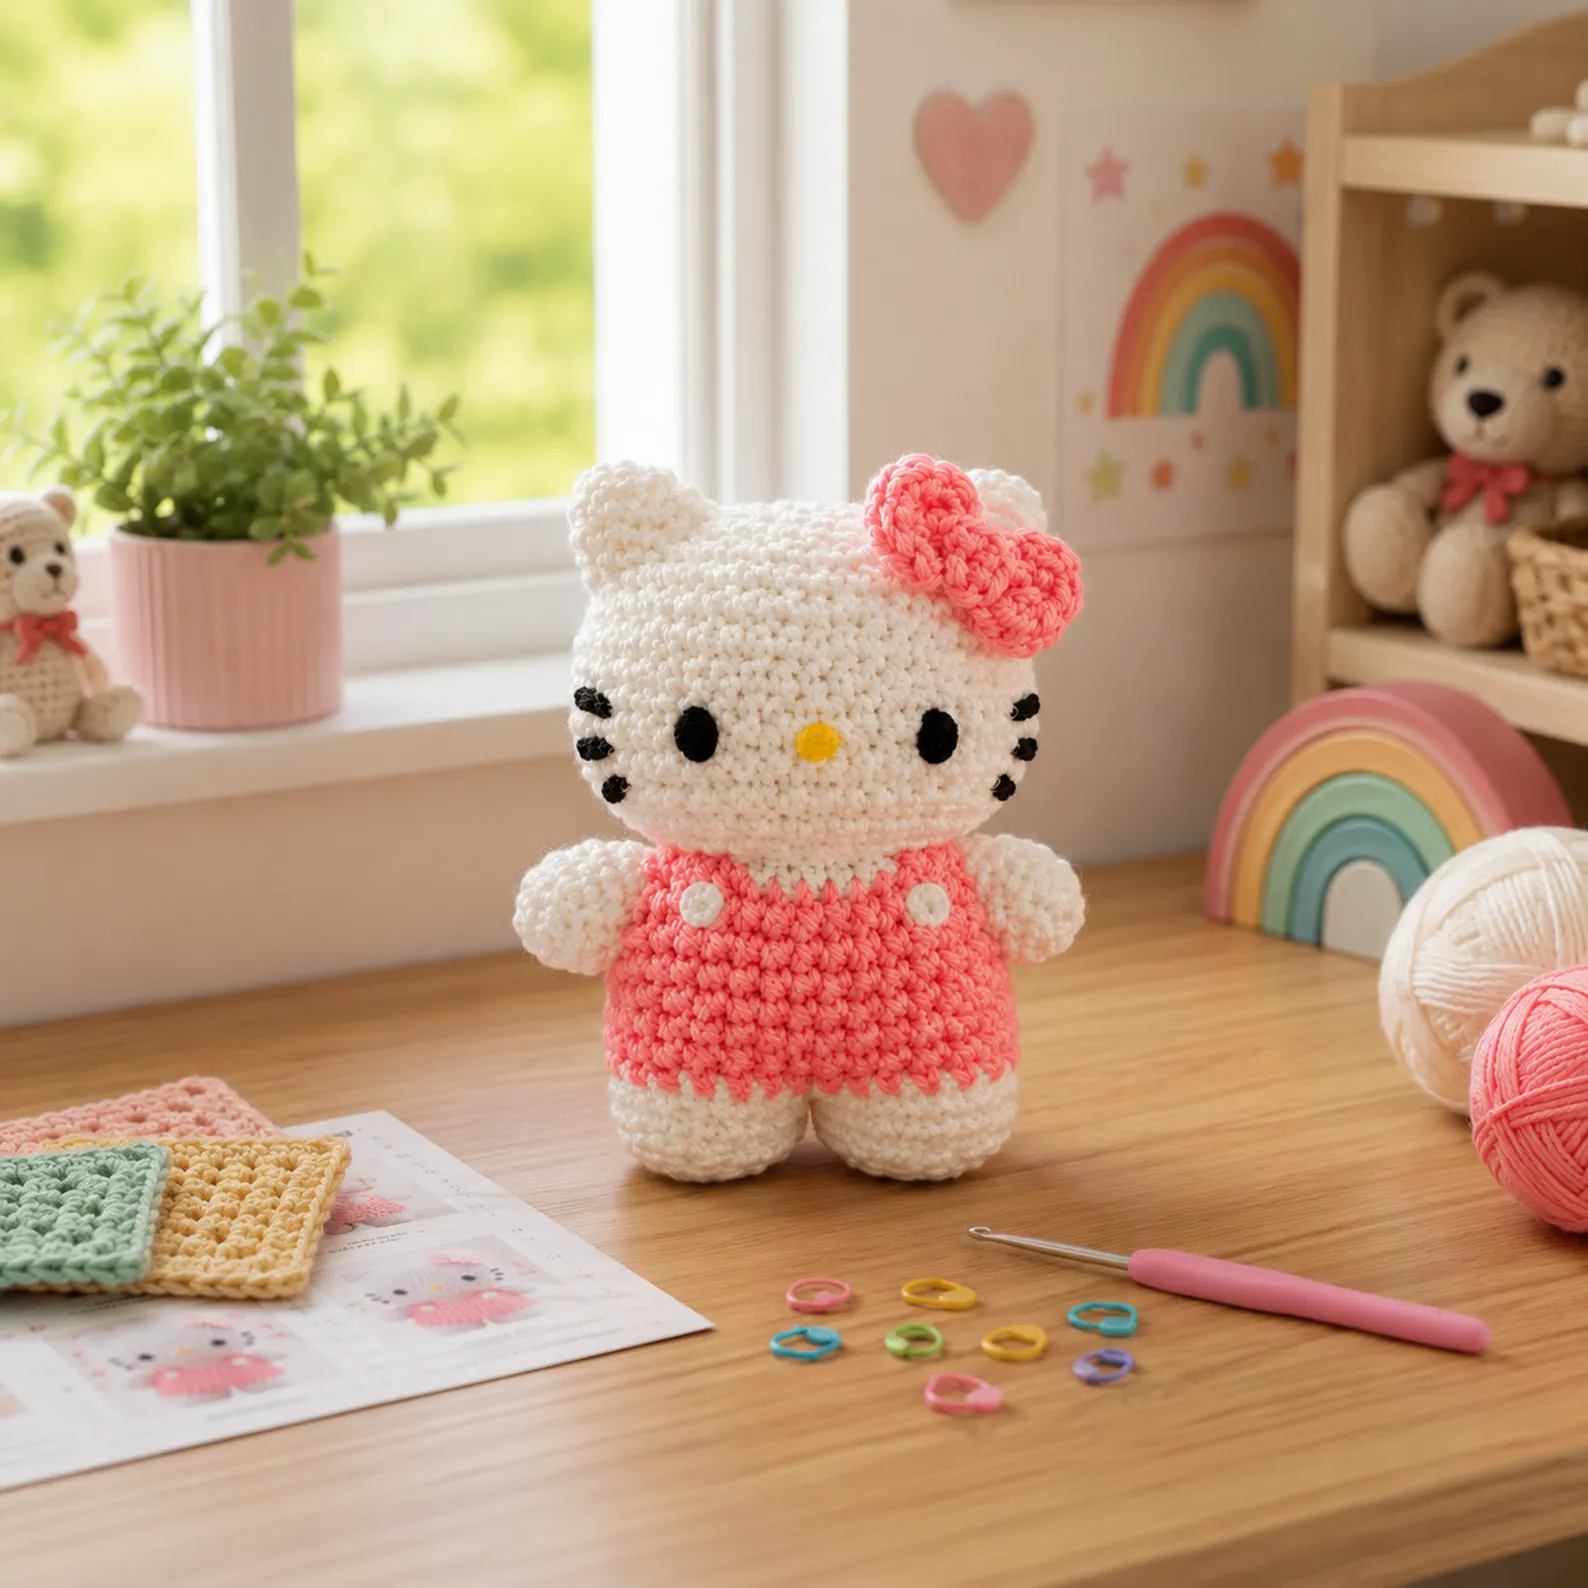
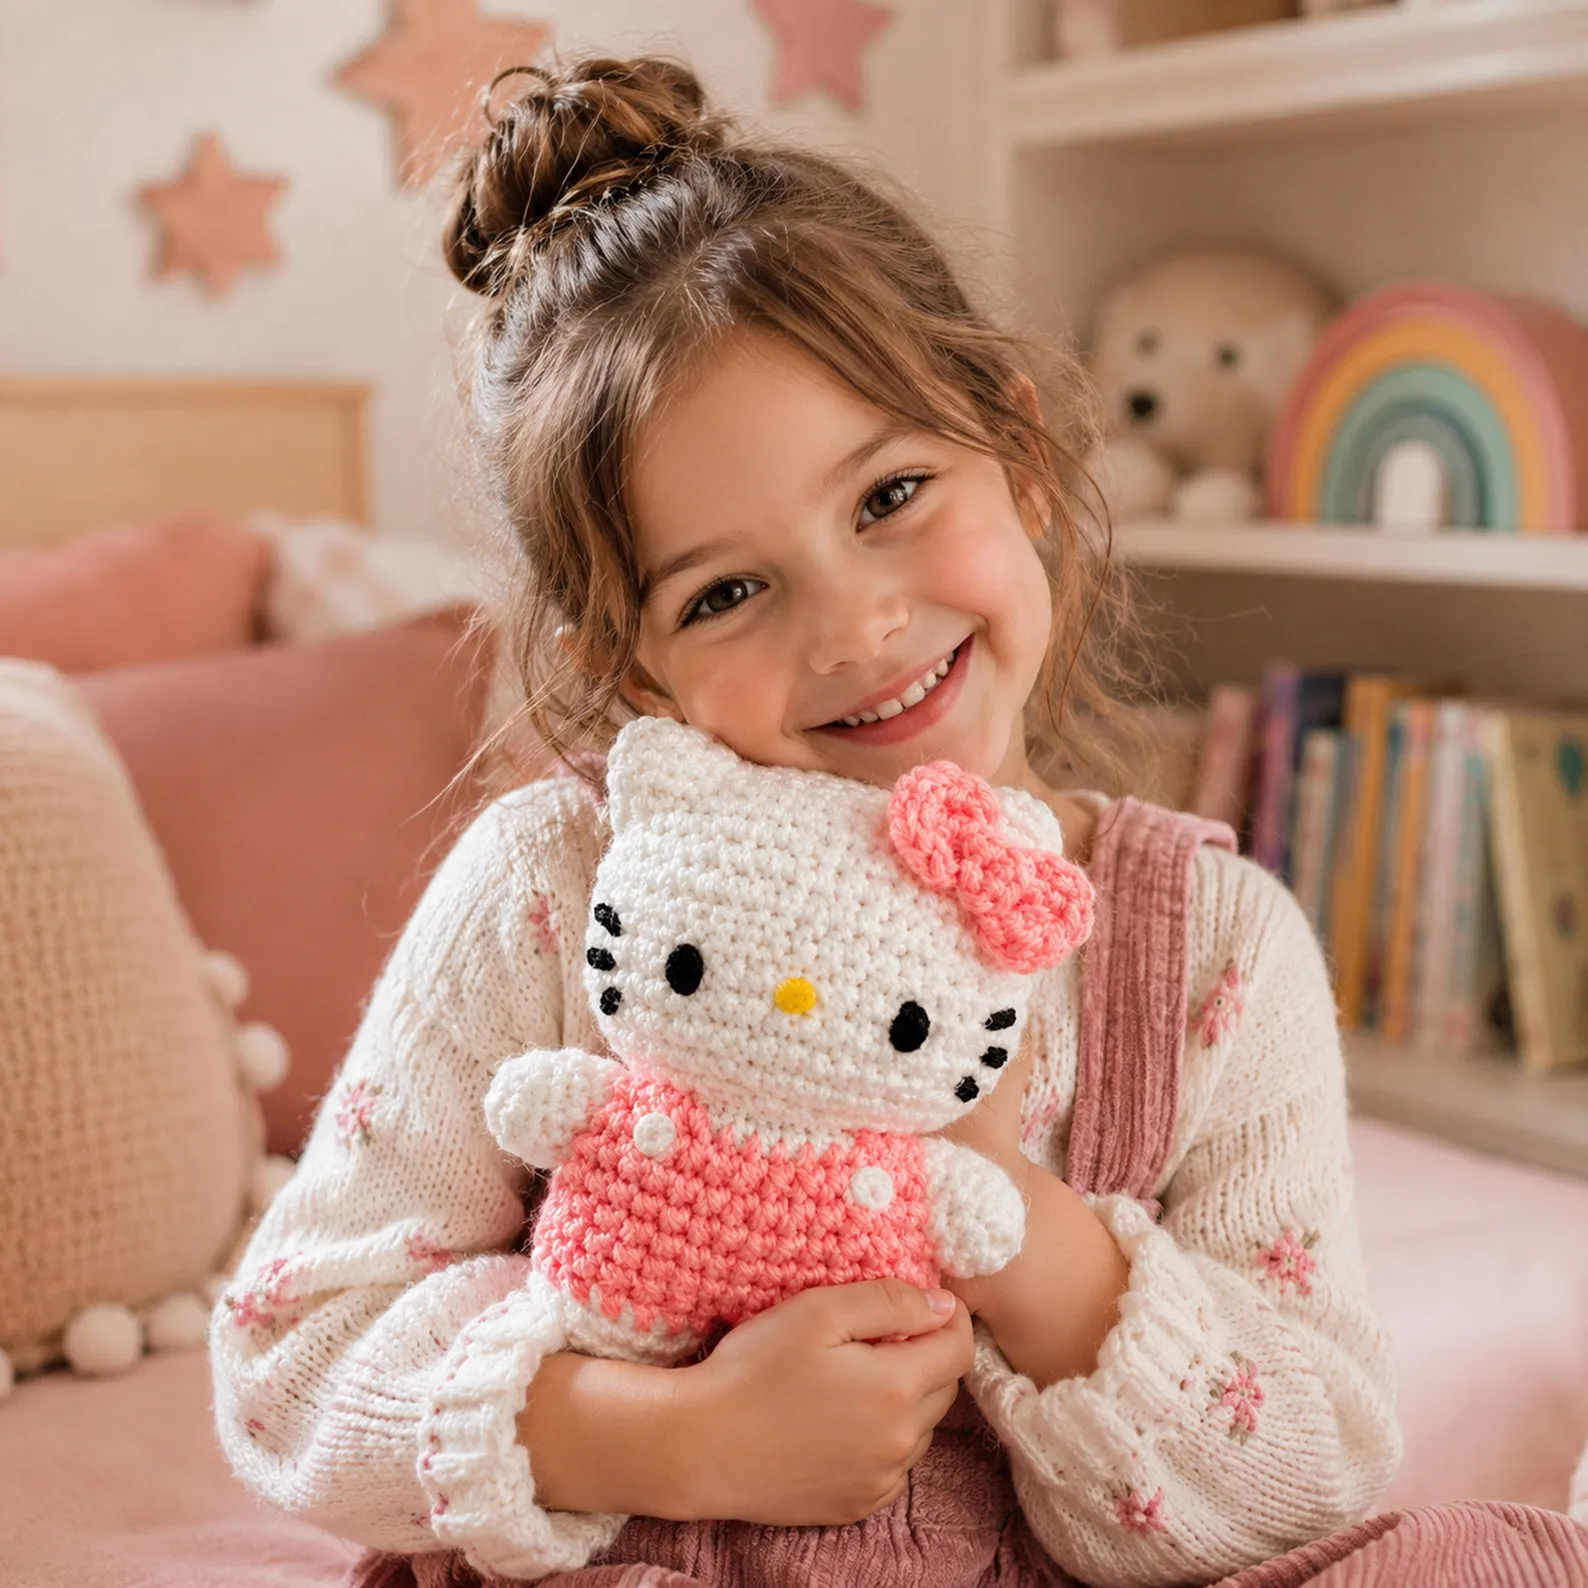
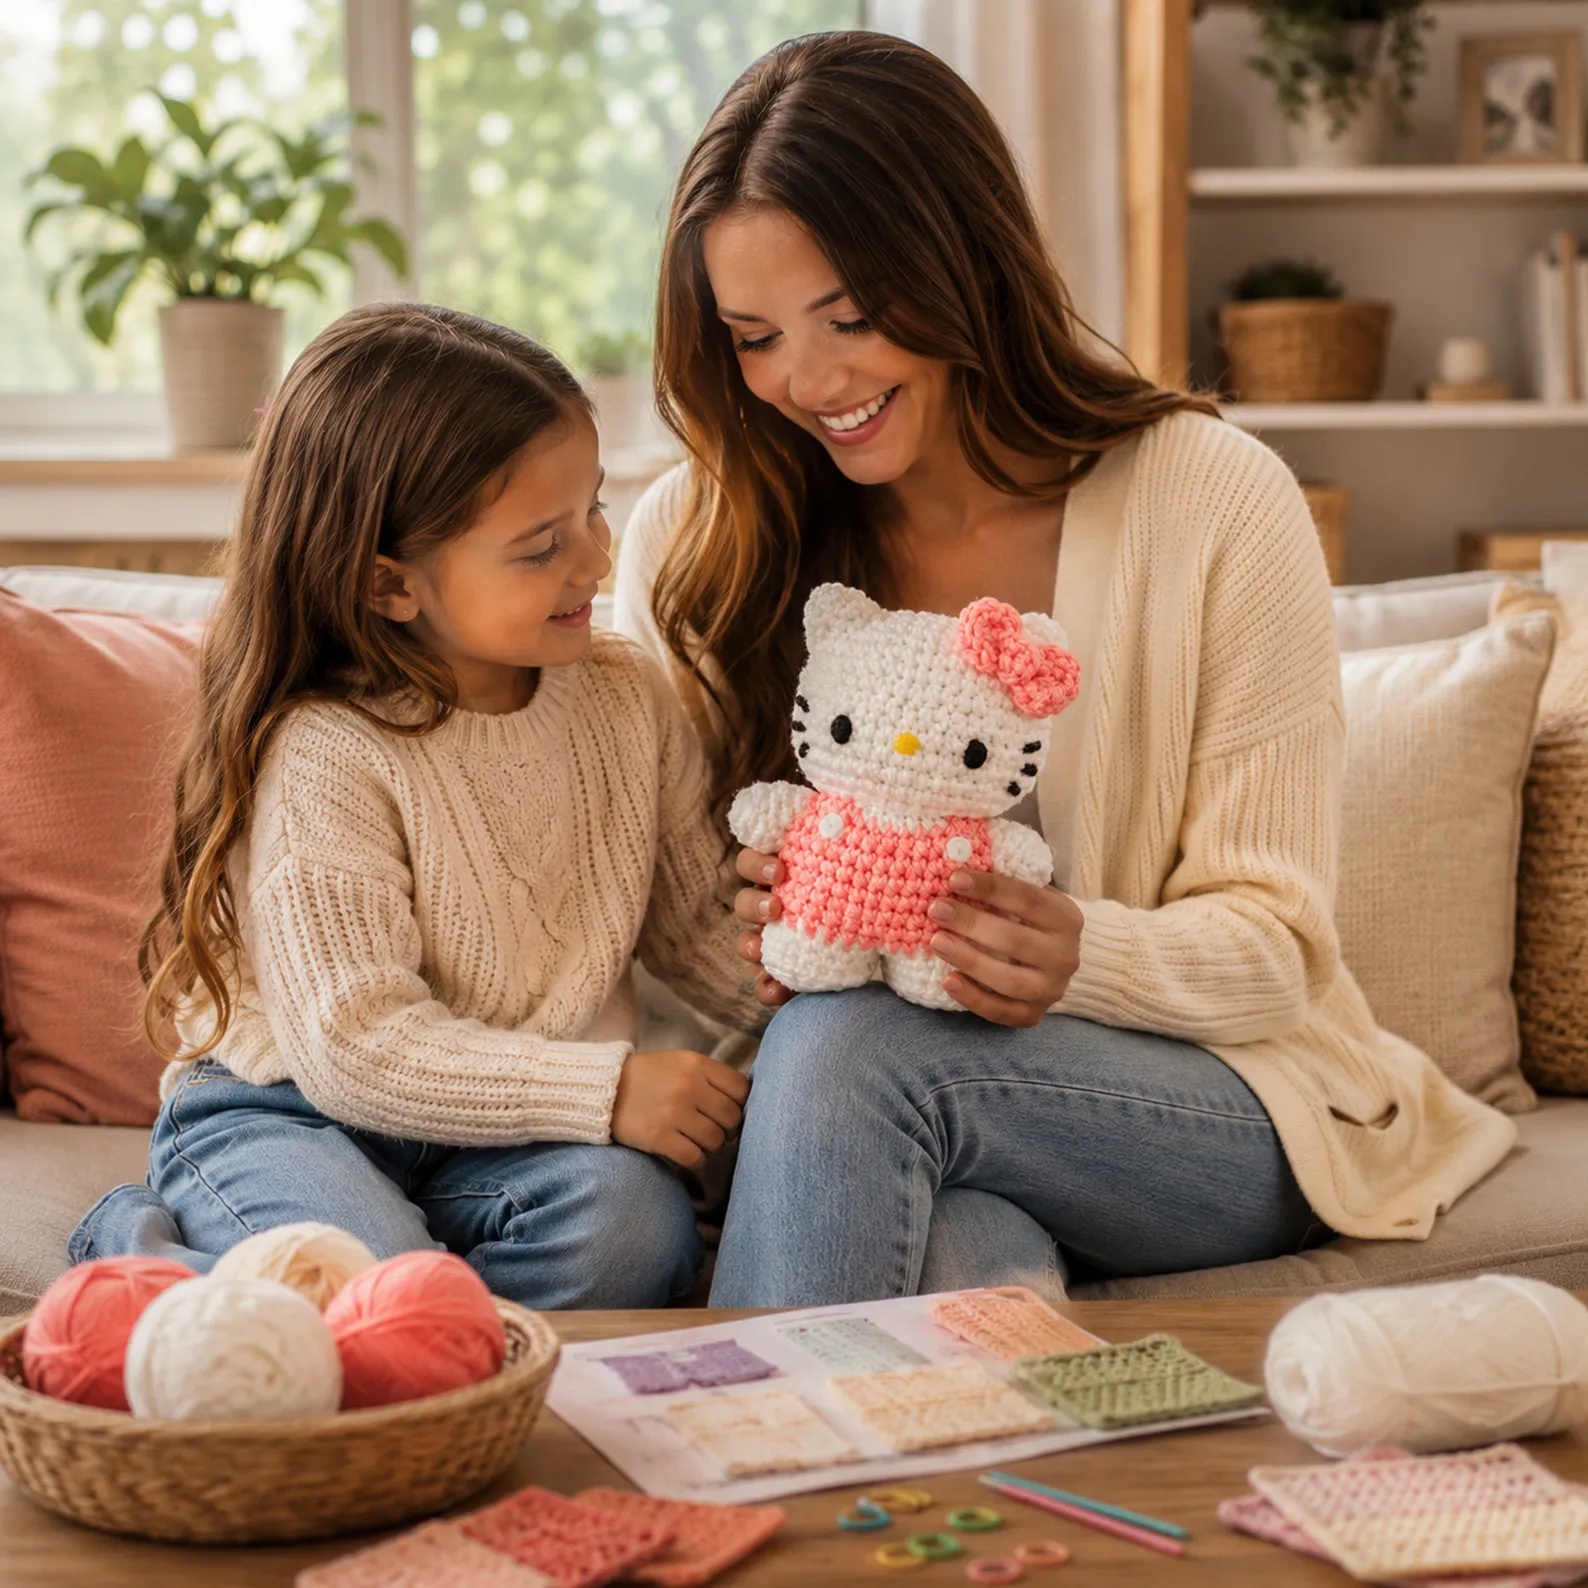
If you love cute handmade characters, this sweet Hello Kitty crochet pattern is a fun project to add to your crochet collection. With her recognizable rounded head, little ears, whiskers, bow, and sweet dress, this amigurumi-style cat makes an adorable handmade gift, nursery decoration, or collectible for anyone who enjoys kawaii crochet. This project is built from simple crochet shapes rather than complicated construction. The head is worked as a rounded amigurumi piece, the body creates a small dress, and the arms, feet, ears, bow, and facial details are added separately. This makes the project especially useful for practicing the fundamental techniques used in many other stuffed crochet toys. Even if you are new to amigurumi, you can approach this easy crochet pattern one section at a time. Once you understand how increases, decreases, and continuous rounds work, the construction becomes much easier to manage. The finished character can also be customized with different dress colors, yarn weights, bows, accessories, and sizes.
Pattern note: This is an original fan-made crochet project inspired by the recognizable Hello Kitty character. It is not an official pattern or product affiliated with Sanrio. Handmade projects should be created and shared in accordance with applicable copyright and trademark rules.
This free crochet pattern is designed as a small amigurumi-style character with a soft, rounded appearance. The finished design consists of a white rounded head, two small ears, a pink bow, a small body, a pink dress, two white arms, two rounded feet, black facial details, a yellow nose, and whiskers. The proportions are intentionally cute and compact. The oversized head gives the finished toy its kawaii appearance, while the smaller body and feet create a balanced silhouette. The dress adds a bright pop of color and provides an easy opportunity to experiment with your favorite shades. For the closest result to this style, choose a smooth yarn and a crochet hook that creates a firm fabric. Amigurumi generally looks best when the stitches are tight enough that the stuffing does not show through the finished fabric.
This project is best suited to advanced beginners and intermediate crocheters, although confident beginners can make it by working slowly through each section. You should be familiar with making a magic ring, single crochet, continuous rounds, increases, decreases, stuffing, and basic sewing. If you have never made amigurumi before, this is still a useful project because the individual pieces are relatively straightforward. The most important skill is maintaining consistent tension. Loose stitches can create visible gaps, while inconsistent increases can cause the head or body to become uneven. If you are completely new to crochet, consider practicing a small sphere before starting the main character. This will help you become comfortable with increasing, decreasing, counting stitches, and stuffing a three-dimensional shape.
For a small character similar to this design, choose a smooth medium-weight or worsted-weight yarn. You will need white yarn for the head, body details, arms, and feet; pink yarn for the dress and bow; black yarn for the eyes and whiskers; and yellow yarn for the nose. You can also keep a small amount of pale pink yarn available if you want to add cheeks or other decorative details. Cotton yarn is excellent for amigurumi because it provides crisp stitch definition and holds its shape well. Acrylic yarn is another practical choice because it is soft, affordable, and available in many colors. Avoid very fuzzy yarn for the main body because it can make individual stitches difficult to see, particularly if you are still learning amigurumi.
Crochet Hook
A 3.0–3.5 mm crochet hook is a useful starting point when working with medium-weight yarn. The exact size depends on your yarn and personal tension. For stuffed crochet toys, a slightly smaller hook than you would normally use can help create a dense fabric.
Additional Supplies
You will also need polyester fiberfill, a tapestry needle, scissors, a stitch marker, and black and yellow embroidery yarn or thread. Safety eyes can be used for decorative projects, but embroidered eyes are a better option when making toys for young children because detachable plastic components can present a choking hazard.
A chain stitch is created by making a loop and pulling yarn through it. Chains are commonly used to begin rows, create spaces, or form foundation structures.
Single Crochet — sc
Single crochet is the primary stitch used throughout this amigurumi-style project. Insert your hook into the indicated stitch, yarn over, pull up a loop, yarn over again, and pull through both loops on the hook.
Increase — inc
An increase means working two single crochet stitches into the same stitch. In amigurumi, increases gradually expand a circular piece and are essential for creating rounded heads, bodies, feet, and other components.
Invisible Decrease — dec
An invisible decrease combines two stitches into one while keeping the outside of the amigurumi neat. Insert the hook through the front loops of the next two stitches, yarn over, pull through, yarn over again, and pull through the remaining loops.
Magic Ring
A magic ring allows you to begin crocheting in the round without leaving a large hole in the center. Pull the starting tail firmly once the first round has been completed to close the center.
Continuous Rounds
Most amigurumi pieces are crocheted continuously rather than joined at the end of every round. Place a stitch marker into the first stitch of each round and move it upward as you work.
The head is the most important part because it establishes the recognizable rounded shape. Using white yarn, begin with a magic ring and crochet 6 single crochet stitches into the ring. Round 1: 6 sc into a magic ring. Round 2: Increase in every stitch around for 12 stitches. Round 3: Repeat 1 sc, inc around for 18 stitches. Round 4: Repeat 2 sc, inc around for 24 stitches. Round 5: Repeat 3 sc, inc around for 30 stitches. Continue increasing evenly until the head reaches the desired width. Once the widest point has been reached, work several rounds of single crochet without increasing. The piece should begin to resemble a rounded ball. Begin decreasing gradually using evenly spaced decreases. As the opening becomes smaller, start adding polyester fiberfill. Add stuffing gradually and distribute it evenly rather than placing a large amount in one area. Do not overstuff the head. It should be firm enough to maintain its shape while remaining soft and slightly squeezable. Finish the final decreases and weave the yarn through the remaining stitches to close the opening.
Part 2: Make the Ears
The ears can be made as small triangular crochet pieces. Begin with a small number of stitches and increase toward the center of the ear before decreasing gradually to form the pointed top. Make two matching ears and leave a long yarn tail on each piece for sewing. Position the ears near the upper corners of the head. Before sewing them permanently, use pins to test the placement. Keeping both ears at a similar height will help the finished character look balanced. Once you are satisfied with the position, sew them securely to the head using a tapestry needle.
Part 3: Crochet the Body and Dress
The body is smaller than the head and can be worked from the bottom upward. Begin with a small circular base using white yarn and increase evenly until the base reaches the desired width. Continue working single crochet rounds without increases to create the main body. Change to pink yarn when you reach the section that will become the dress. Work several rounds of single crochet in pink. If you want a slightly flared dress, add occasional increases around the lower section. This creates a simple skirt-like silhouette without requiring complicated stitches. You can add two small white crocheted circles to the front of the dress to imitate buttons. Crochet the circles separately and sew them securely into position.
Part 4: Crochet the Arms
Make two small white arms. Start with a small magic ring and work several rounds of single crochet. Use increases sparingly so the arms remain narrow and rounded. Add a small amount of stuffing before closing each arm. Avoid overstuffing because small arms can become stiff and difficult to sew onto the body. Sew one arm onto each side of the body. For a cute standing pose, angle the arms slightly downward. Check the position of both arms before securing them permanently.
Part 5: Crochet the Feet
The feet are small oval-shaped pieces. Start with a magic ring and work increases around the first few rounds. Continue crocheting until each foot reaches the desired length. Work a few rounds without increases and then begin decreasing toward the back of the foot. Add a small amount of stuffing before closing the opening. Make two matching feet and sew them to the lower part of the body. Leave enough space between them so the character can stand upright. Before sewing the feet permanently, place them against the body and check the balance. If the character tips forward or backward, adjust the placement slightly.
Part 6: Make the Pink Bow
The bow is one of the most recognizable decorative elements of the design. Using pink yarn, crochet a small rectangle with single crochet. Continue working rows until the rectangle is approximately twice as wide as you want the finished bow to be. Fasten off and weave in the yarn end. Pinch the center of the rectangle and wrap pink yarn around the middle several times. This creates two rounded loops and gives the piece its bow shape. Sew the finished bow securely near one ear. For a larger bow, add additional rows or use a thicker yarn. You can also use two shades of pink to create a layered effect.
Part 7: Add the Face
Facial placement can dramatically change the personality of an amigurumi, so take your time with this stage. The face should be added after the head has been completely stuffed and shaped. For the eyes, use black yarn to embroider two small oval-shaped shapes. Position them evenly on either side of the face. For the nose, use yellow yarn to create a small oval or rounded shape in the center of the face between the eyes. Add three short black whisker lines on each side of the face. Use straight embroidery stitches and keep the tension consistent so the yarn does not pull the face out of shape.
Part 8: Final Assembly
Once all the pieces are complete, arrange them before sewing. Check that both ears are positioned evenly, the eyes are level, the nose is centered, and the bow is secure. Also check that the arms are at the same height and that the feet are positioned so the character can stand properly. After everything looks balanced, sew each piece securely. Weave all yarn ends inside the project and trim the excess. Give the finished amigurumi a gentle shaping with your fingers. Avoid pulling aggressively on the embroidered facial details.
Loose stitches can leave gaps between stitches and allow stuffing to show. Solution: Try using a smaller hook or slightly tighten your tension.
Losing Track of Rounds
It is easy to lose your place when crocheting continuous rounds. Solution: Always use a stitch marker at the beginning of each round and count your stitches regularly.
Overstuffing
Too much stuffing can distort the shape and stretch the stitches. Solution: Add stuffing gradually and distribute it evenly throughout the piece.
Uneven Increases
Incorrectly placed increases can make the head or body lumpy. Solution: Count your stitches at the end of every round and make sure your increases are evenly distributed.
Crooked Facial Features
Even a beautifully crocheted head can look unusual when the facial features are not centered. Solution: Temporarily pin or mark the positions of the eyes and nose before embroidering them permanently.
Weak Attachments
Loose arms, feet, ears, or bows can detach after repeated handling. Solution: Sew each component through several strong stitches and securely weave in the yarn ends.
Amigurumi depends heavily on accurate stitch counts. A single missed increase can affect the shape of the entire piece. Keep a written record of your rounds so you can easily find your place if you need to stop.
Stuff as You Go
Do not wait until the final opening to add all the stuffing. Smaller amounts added gradually are easier to distribute evenly.
Use a Stitch Marker
A simple stitch marker can save considerable time and prevent confusion when working in continuous rounds.
Maintain Consistent Tension
Try to maintain similar tension throughout every section. Consistent tension creates smoother shapes and makes the individual pieces easier to assemble.
Embroider the Face Last
The face is much easier to position once the head has been fully stuffed and shaped. This also allows you to adjust the facial expression before making the final stitches.
Use Pins During Assembly
Before sewing pieces permanently, use pins to test their position. This is especially helpful for the ears, arms, feet, and bow.
One of the best things about a DIY crochet project is the freedom to make it your own.
Change the Dress Color
Pink is a classic choice, but you can experiment with lavender, mint green, baby blue, cream, red, yellow, or rainbow stripes.
Create Seasonal Outfits
Make several small dresses for different occasions. A red-and-green version can create a festive holiday look, while pastel shades work beautifully for spring.
Make a Larger Version
Use bulky yarn and a larger crochet hook to create an oversized plush character. Remember that thicker yarn will require more stuffing and may change the final proportions.
Make a Mini Version
For a tiny amigurumi, use lightweight yarn with a smaller hook. This can create a cute miniature decoration, although very small pieces require extra care when used around children.
Add a Flower
Replace the bow with a small crocheted flower for a different appearance. You can also place a tiny flower beside the ear or on the dress.
Make a Matching Collection
Once you understand the basic construction, create several versions with different colors and outfits. This is an excellent way to practice repeating the same crochet pattern while experimenting with your own designs.
If you are building a crochet blog, this project can naturally connect to other helpful tutorials. Consider adding internal links such as:
You may also like: Easy Amigurumi Cat Crochet Pattern
You may also like: How to Crochet a Magic Ring
You may also like: Beginner's Guide to Amigurumi
You may also like: Easy Crochet Bow Pattern
You may also like: Crochet Doll Dress Pattern
You may also like: How to Embroider Faces on Crochet Toys
You may also like: Best Yarn for Amigurumi
You may also like: Easy Crochet Gifts for Beginners These related articles can help readers move naturally from one tutorial to another while learning the techniques needed for more advanced crochet projects.
Is this Hello Kitty crochet pattern suitable for beginners?
Yes. The design uses basic amigurumi techniques such as single crochet, increases, decreases, stuffing, and sewing. Beginners may find the assembly and facial embroidery the most challenging parts, but the project becomes much easier when you work slowly and check your stitch counts.
What yarn is best for this crochet pattern?
Smooth cotton or acrylic yarn works well. Cotton gives excellent stitch definition, while acrylic is soft and widely available. Choose a yarn that is easy to work with and allows you to clearly see your stitches.
What crochet hook size should I use?
A 3.0–3.5 mm hook is a useful starting point for medium-weight yarn. Your ideal hook depends on your yarn and tension. For amigurumi, the stitches should be tight enough that stuffing does not show through.
How do I make crochet amigurumi firm?
Use a relatively small hook, maintain consistent tension, and add stuffing gradually. Fill small areas little by little instead of putting a large amount of stuffing into the piece at once.
Can I use safety eyes?
Yes, safety eyes can be used for decorative amigurumi. However, if the finished toy will be given to a young child, embroidered eyes are a safer alternative because plastic eyes can become detached and present a choking hazard.
How do I stop my crochet head from becoming lumpy?
Keep your increases evenly distributed and maintain accurate stitch counts. Make sure you are not accidentally adding extra stitches at the beginning or end of rounds. Proper stuffing also helps maintain a smooth shape.
Can I make this crochet pattern larger?
Absolutely. One simple approach is to use thicker yarn and a larger crochet hook while maintaining the same general construction. You can also modify the proportions by adding additional increase rounds.
How long does it take to crochet this character?
The time varies according to experience, yarn thickness, and the amount of detail you add. A beginner may need several sessions, while an experienced amigurumi crocheter can work considerably faster.
This Hello Kitty crochet pattern is a charming project for anyone who enjoys amigurumi, handmade gifts, and cute character-inspired crafts. The finished design combines simple crochet shapes with careful assembly and embroidered details, making it enjoyable to create while also helping you improve your crochet skills. The most important part is not crocheting quickly. Take your time with stitch counts, stuffing, and facial placement. Small adjustments can make a big difference in the finished character. Once you are comfortable with the basic construction, experiment with different dress colors, bows, accessories, and sizes. That is where a simple free crochet pattern can become a genuinely personal handmade creation. If you are learning crochet, this project is also a useful stepping stone toward more complicated amigurumi. The same techniques used here—magic rings, increases, decreases, shaping, stuffing, and sewing—appear in countless other crochet projects. So grab your yarn and hook, start with the head, and work through each component one at a time. With patience and consistent tension, you can create a sweet little crochet character that looks polished, handmade, and full of personality. Happy crocheting, and enjoy creating your own adorable DIY crochet character!
 Small stitches. Brighter days.